
Gestures
Gestures are fundamental to building mobile apps. Well-designed gestures can make mobile apps feel intuitive and easy to use. Just like with animations, we often use gestures to imitate movement in the real world or to build interactivity similar to familiar physical objects. For this reason, most gestures are accompanied by animations -- physical objects rarely teleport from one place to another, so neither should components in our UI. We can leverage the Animated API from the previous chapter to build gestures that feel natural.
Simple gestures are supported out-of-the-box by React Native components. When we want to add a tap gesture, we can use TouchableOpacity or TouchableHighlight. For more advanced gestures, however, we'll need to create our own components using lower-level APIs. In this chapter we'll explore gestures by adding an interactive game board to the puzzle app we started in the previous chapter.
Picking up where we left off
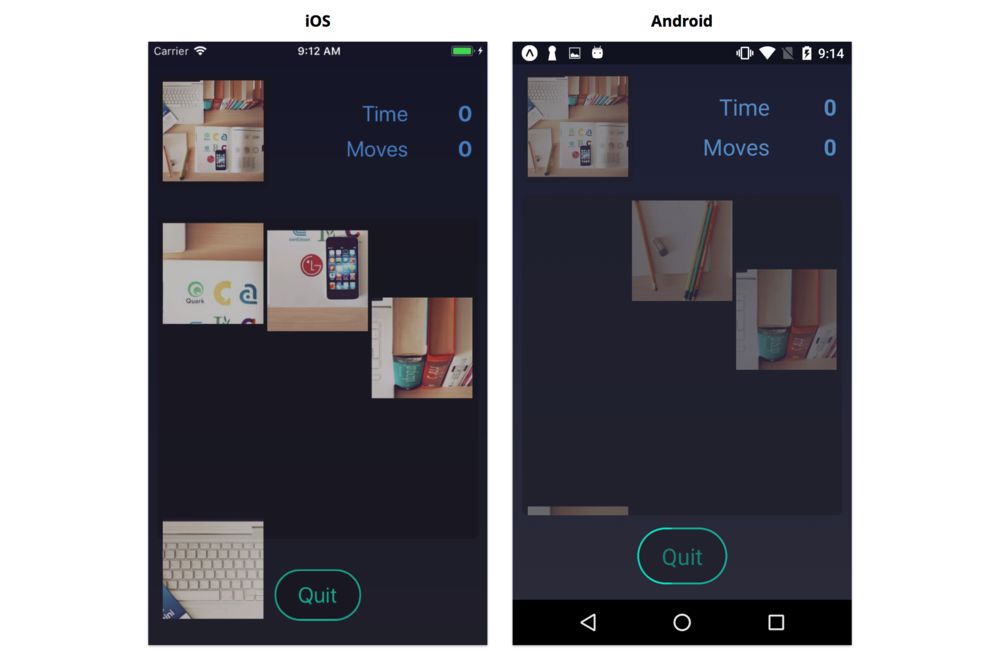
We successfully built the start screen and we started the game screen for our puzzle app. Next, we're going to add the interactive board.
This is a code checkpoint. If you haven't been coding along with us through the Animations chapter but would like to start now, we've included a snapshot of our current progress in the
checkpoints/puzzle-2directory of the sample code. You can follow along by working directly within thecheckpoints/puzzle-2directory, although you're welcome to copy it somewhere else on your computer.To get started, navigate into that directory and install
node_modulesusingyarn.$ cd checkpoints/puzzle-2 $ yarnIt's normal to see tens of (yellow) warnings in the console as
yarninstalls yournode_modules. Only (red) errors indicate a problem that likely needs resolving.
Building the board
Our Board component is responsible for animating the puzzle pieces into view when the components mount, handling the drag gesture as the user moves the pieces, and animating the pieces out of view when the game ends.
The Board component has already been started for you. Let's take a look at what's already there. Open Board.js.
Transition states
Just like with the Start and Game screens we built in the previous chapter, we'll use a transitionState prop to control the various transitions in the Board. These are the states of the board:
const State = {
  WillTransitionIn: 'WillTransitionIn',
  DidTransitionIn: 'DidTransitionIn',
  DidTransitionOut: 'DidTransitionOut',
};
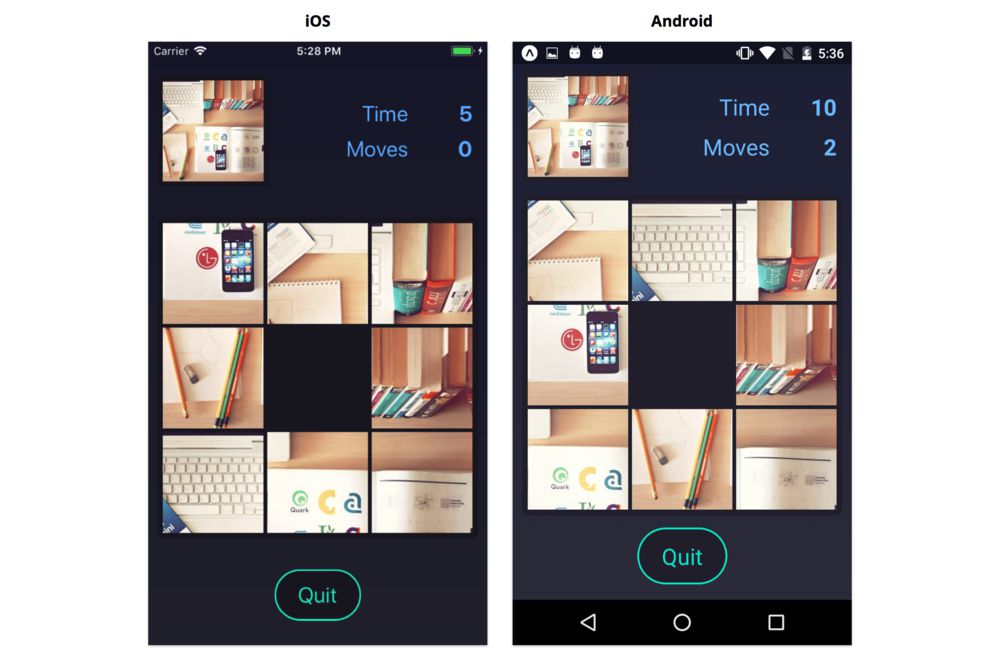
The Board begins in the WillTransitionIn state, and starts animating each puzzle piece from beneath the screen into the center of the screen:
Once these animations finish, it will enter the DidTransitionIn state and call its onTransitionIn prop (passed in from Game). At this point, the puzzle pieces become interactive:
The Game will tell the board when the game is finished and it's time to cleanup by passing the teardown prop. Upon receiving the teardown prop, the Board transition animates each puzzle piece out of view:
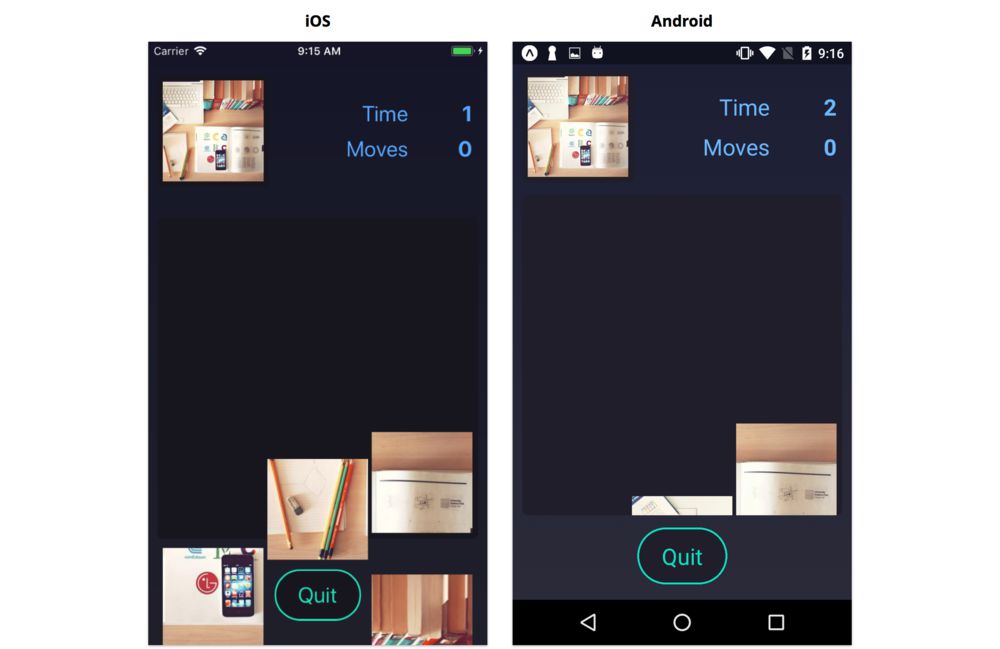
Once this cleanup is done, the Board will transition to the DidTransitionOut state and call onTransitionOut.
Board props
Next lets look at the propTypes for this component:
  static propTypes = {
    puzzle: PuzzlePropType.isRequired,
    teardown: PropTypes.bool.isRequired,
    image: Image.propTypes.source,
    previousMove: PropTypes.number,
    onMoveSquare: PropTypes.func.isRequired,
    onTransitionIn: PropTypes.func.isRequired,
    onTransitionOut: PropTypes.func.isRequired,
  };
The board is passed the current state of the puzzle, the image, and the previousMove. From these, the board can determine how to render the puzzle. The board will never modify the state of the puzzle -- instead, the board will call onMoveSquare to inform the Game component that a piece has been moved.
We use a PropTypes.shape to validate the fields within the puzzle object:
import PropTypes from 'prop-types';

export default PropTypes.shape({
  size: PropTypes.number.isRequired,
  empty: PropTypes.number.isRequired,
  board: PropTypes.arrayOf(PropTypes.number.isRequired).isRequired,
});
The puzzle object contains the size of the board, the arrangement of pieces on the board, and an indicator recording which piece is the empty piece. Each piece is represented by a number. In its finished state, the piece numbers will be properly sorted from small to large within board. In other words, the number represents the "correct" or "final" position of the piece in the completed puzzle. The empty value refers to the number of a piece (not to an index in the board array).
If we overlay these numbers on top of the puzzle board, we can see how each number corresponds with a piece:
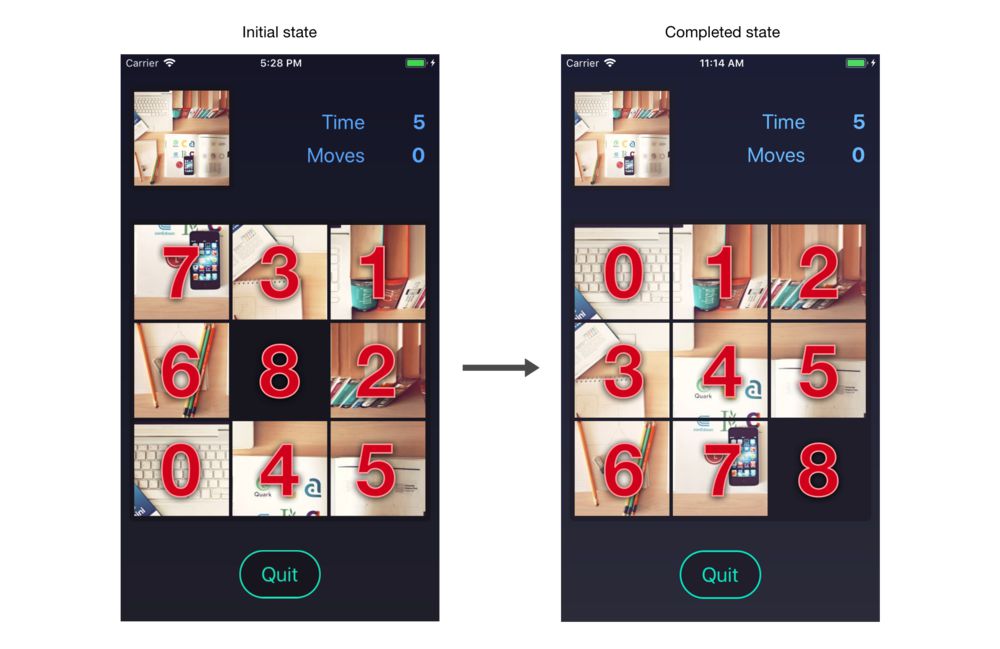
For this example, the initial state of a puzzle object is:
{
  size: 3,
  empty: 8,
  board: [7, 3, 1, 6, 8, 2, 0, 4, 5]
}
When completed, the puzzle object will be:
{
  size: 3,
  empty: 8,
  board: [0, 1, 2, 3, 4, 5, 6, 7, 8]
}
We'll use the piece numbers directly when rendering the board. We'll use utility functions for determining anything else from the puzzle object.
If you recall from the previous chapter, each puzzle uses a random image fetched from a remote API. When we render the puzzle, we'll need to "split up" the image into a grid of puzzle pieces.
We won't actually modify the raw image data -- instead we'll render the same image multiple times, once for each piece, and offset the image's position. We can use a style with
overflow: hiddento hide the excess parts of the image we don't want to show. We'll use the piece's number to calculate the position of the image for that piece.
You'll notice at the top of the file we import two utility functions:
import { availableMove, getIndex } from '../utils/puzzle';
We'll use availableMove to determine which directions the user may drag any given piece. And we'll use getIndex to determine the current position of any given piece.
The other props, teardown, onTransitionIn, and onTransitionOut, are all used to communicate state changes between the Game and Board components.
Initializing the board
We'll start by writing a simplified version of the game board where the pieces don't move. After we have the pieces showing up in the correct positions, we'll add the animation and gestures.
Each piece on the board will use an Animated.Value to represent its top, left, and scale. This gives us fine-grained control over the animations of each piece. We can use a helper function, calculateItemPosition, already imported at the top of the file to determine the correct starting top and left position of each piece.
Our constructor needs to do 2 things:
- Initialize the
transitionStatetoWillTransitionIn - Create an
Animated.Valuefor thetop,left, andscaleof each piece
Add the following constructor to components/Board.js:
  constructor(props) {
    super(props);

    const { puzzle: { size, board } } = props;

    this.state = { transitionState: State.WillTransitionIn };
    this.animatedValues = [];

    board.forEach((square, index) => {
      const { top, left } = calculateItemPosition(size, index);

      this.animatedValues[square] = {
        scale: new Animated.Value(1),
        top: new Animated.Value(top),
        left: new Animated.Value(left),
      };
    });
  }
Recall from the previous chapter that an
Animated.Valuewraps a number. We need to instantiate a separateAnimated.Valuefor thetop,left, andscaleof each puzzle piece on the board, since we want to animate all of these values independently.
We'll render each puzzle piece with an absolute position, so that it renders at the top-left of the board. Then we'll use the top and left animated values to position the piece relative to the top-left of the board.
Now that we have our constructor, we'll also need a componentDidMount method where we:
- Start the initial animation (where the puzzle pieces fly onto the board)
- Set
transitionStatetoDidTransitionInonce the animation completes - Call
onTransitionInto inform theGamethat the transition animation has completed and the game has begun
We'll handle starting the transition animation later in the chapter, so for now, let's add a componentDidMount method that sets the transitionState and calls onTransitionIn:
  async componentDidMount() {
    const { onTransitionIn } = this.props;

    this.setState({ transitionState: State.DidTransitionIn });

    onTransitionIn();
  }
Rendering the board
Next, let's render each piece on the game board. In order to determine the proper size of the board and each piece, we'll use two utility functions that have already been imported at the top of the file:
calculateContainerSize()- This function returns the size to render the board, in pixels. Since the board is a square, we'll use this size for both thewidthandheight.calculateItemSize(size)- This function usespuzzle.sizeto divide the board into an even number of rows and columns. We'll use the returned pixel size for thewidthandheightof each piece.
We'll represent the board with a View. We'll map each puzzle piece in puzzle.board into an Animated.View that contains an Image.
Add the following render method to components/Board.js:
  render() {
    const { puzzle: { board } } = this.props;
    const { transitionState } = this.state;

    const containerSize = calculateContainerSize();
    const containerStyle = {
      width: containerSize,
      height: containerSize,
    };

    return (
      <View style={[styles.container, containerStyle]}>
        {transitionState !== State.DidTransitionOut &&
          board.map(this.renderSquare)}
      </View>
    );
  }
Notice that we map each piece in the board through this.renderSquare. Let's write the renderSquare method now. This method is called with two arguments:
square- The numeric value of the piece inpuzzle.boardindex- The index of the square within thepuzzle.boardarray
In other words, the square represents the "correct" position of the puzzle piece (within the original image), while the index represents the current position of the puzzle piece (within the rearranged image).
When the board is in the
DidTransitionOutstate, we don't render any pieces. This shouldn't be necessary, since the pieces should have already animated off-screen. However, there's a bug that occurs when combiningAnimatedanduseNativeDriverthat causes the pieces to render without theirtransformstyles.
Let's write renderSquare now. We'll start by declaring the method and destructuring the props and state we'll need:
  renderSquare = (square, index) => {
    const { puzzle: { size, empty }, image } = this.props;
    const { transitionState } = this.state;
If the square is the empty square of the puzzle (puzzle.empty), then we shouldn't render it:
  renderSquare = (square, index) => {
    const { puzzle: { size, empty }, image } = this.props;
    const { transitionState } = this.state;

    if (square === empty) return null;
Next, we'll call calculateItemSize to get the pixel size of the puzzle piece. This value will be the same for every piece:
    if (square === empty) return null;

    const itemSize = calculateItemSize(size);
We can use the itemSize to create a style, itemStyle, for the Animated.View that we'll render. The view should have a width and height equal to itemSize, and use a transform to correctly position it on the board. This is where the Animated.Value array we set up earlier comes in:
    const itemSize = calculateItemSize(size);

    const itemStyle = {
      position: 'absolute',
      width: itemSize,
      height: itemSize,
      overflow: 'hidden',
      transform: [
        { translateX: this.animatedValues[square].left },
        { translateY: this.animatedValues[square].top },
        { scale: this.animatedValues[square].scale },
      ],
    };
Note that we use a
transformwithtranslateXandtranslateY, instead ofleftandtop. If you recall from the previous chapter, this allows us to animate these values withuseNativeDriverfor improved performance. In this chapter, we use the namestopandleftto refer to a piece's position for simplicity, even though we're actually setting thetranslateXandtranslateY.
Within the Animated.View that uses this style, we'll render the image of the puzzle piece. With some clever math, we can offset the image to display the correct portion for each piece:
    const imageStyle = {
      position: 'absolute',
      width: itemSize * size + (itemMargin * size - 1),
      height: itemSize * size + (itemMargin * size - 1),
      transform: [
        {
          translateX:
            -Math.floor(square % size) * (itemSize + itemMargin),
        },
        {
          translateY:
            -Math.floor(square / size) * (itemSize + itemMargin),
        },
      ],
    };
The exact calculations here and elsewhere in the chapter are specific to this game, so we won't cover them in much detail. However, animation and gesture code in general tends to rely on manual calculations, so you may find it useful to try to understand the calculations and utility functions in this chapter.
Lastly, we can put everything together by rendering an Animated.View and an Image:
    return (
      <Animated.View key={square} style={itemStyle}>
        <Image style={imageStyle} source={image} />
      </Animated.View>
    );
  };
Try it out!
Save Board.js. After the app reloads, press the start button, and you should see the board fade in!
Making pieces draggable
Now that we're rendering our puzzle pieces, we can focus on making them draggable. In order to do this, we'll need to learn how to use the Gesture Responder System.
Gesture Responder System
React Native provides the Gesture Responder System for building complex interactions like dragging. The Gesture Responder System gives us fine-grained control over which components should receive and respond to touch events.
Each time the user touches the screen, moves their finger, or lifts their finger, the operating system records an independent event called a "touch event." Interpreting one or more of these independent touch events results in a gesture. A tap gesture may consist of the user touching the screen and lifting their finger immediately. A drag gesture may consist of a user touching the screen, moving their finger around the screen, and then lifting their finger.
Touch events can interact in complex ways in mobile apps. Imagine a horizontally draggable slider within a vertical scrollview -- how do we determine which finger movements should affect the slider and which should affect the scrollview? The Gesture Response System gives us a set of callbacks which help us handle the right touch events from the right component.
Responder lifecycle
Let's look at how touch events flow between components in the responder system.
At its core, the responder system determines which view owns the global "interaction lock" at any given time. When granted the interaction lock, a view is known as the "responder", since it responds to touch events. Generally the responder view should show visual feedback, such as highlighting or moving. While a touch gesture is occuring, the interaction lock may be transferred to an ancestor view of the responder.
There are function props a view can implement to request the interaction lock:
View.props.onStartShouldSetResponder: (e) => true- If a touch gesture begins on this view, should this view become the responder?View.props.onMoveShouldSetResponder: (e) => true- If the user moves their finger over this view during a touch gesture, should this view become the responder?
This page is a preview of Fullstack React Native: The Complete Guide to Building Beautiful React Native Apps
Get the rest of this chapter plus hundreds of pages of React instruction, 4 sample projects, a screencast, and more.
