
Yesterday we examined the different types of tests that we write in React. Today we'll see it in action. We'll install the dependencies required to set up tests as well as write our first assertions.
Let's get our application set up to be tested. Since we're going to be using a few different libraries, we'll need to install them before we can use them (obviously).
Dependencies
We're going to use the following npm libraries:
jest/jest-cli
Jest is the official testing framework released by Facebook and is a fantastic testing framework for testing React applications. It is incredibly fast, provides sandboxed testing environments, support for snapshot testing, and more.
babel-jest/babel-preset-stage-0
We'll write our tests using the stage 0 (or ES6-edge functionality), so we'll want to make sure our test framework can read and process our ES6 in our tests and source files.
sinon
Sinon is a test utility library which provides a way for us to write spies, stubs, and mocks. We'll discuss what these are when we need them, but we'll install the library for now.
react-addons-test-utils/enzyme
The react-addons-test-utils package contains testing utilities provided by the React team.
Enzyme, a JavaScript testing library built/maintained by Airbnb is a bit easier to work with and provides really nice methods for traversing/manipulating React's virtual DOM output. While we'll start with react-addons-test-utils, we'll transition to using Enzyme as we prefer using it in our tests.
react-test-renderer
The react-test-renderer library allows us to use the snapshot feature from the jest library. Snapshots are a way for Jest to serialize the rendered output from the virtual DOM into a file which we can automate comparisons from one test to the next.
redux-mock-store
The redux-mock-store library allows us to easily make a redux store for testing. We'll use it to test our action creators, middleware, and our reducers.
To install all of these libraries, we'll use the following npm command in the terminal while in the root directory of our projects:
yarn add --dev babel-jest babel-preset-stage-0 enzyme enzyme-adapter-react-16 jest-cli react-addons-test-utils react-test-renderer redux-mock-store sinon
Configuration
We'll also need to configure our setup. First, let's add an npm script that will allow us to run our tests using the npm test command. In our package.json file in the root of our project, let's add the test script. Find the scripts key in the package.json file and add the test command, like so:
{
  // ...
  "scripts": {
    "start": "react-scripts start",
    "build": "react-scripts build",
    "eject": "react-scripts eject",
    "test": "react-scripts test --env=jsdom"
  },
}
Writing tests
Let's confirm that our test setup is working properly. Jest will automatically look for test files in the entire tree in a directory called __tests__ (yes, with the underscores). Let's create our first __tests__ directory in our src/components/Timeline directory and create our first test file:
mkdir src/components/Timeline/__tests__
touch src/components/Timeline/__tests__/Timeline-test.js
The Timeline-test.js file will include all the tests for our Timeline component (as indicated by the filename). Let's create our first test for the Timeline component.
We'll write our tests using the Jasmine framework. Jasmine provides a few methods we'll use quite a bit. Both of the following methods accept two arguments, the first being a description string and the second a function to execute:
describe()it()
The describe() function provides a way for us to group our tests together in logical bundles. Since we're writing a bunch of tests for our Timeline, we'll use the describe() function in our test to indicate we're testing the Timeline.
In the src/components/Timeline/__tests__/Timeline-test.js file, let's add the describe block:
describe("Timeline", () => {});
We can add our first test using the it() function. The it() function is where we will set our expectations. Let's set up our tests with our first expectations, one passing and one failing so we can see the difference in output.
In the same file, let's add two tests:
describe("Timeline", () => {
  it("passing test", () => {
    expect(true).toBeTruthy();
  });

  it("failing test", () => {
    expect(false).toBeTruthy();
  });
});
We'll look at the possible expectations we can set in a moment. First, let's run our tests.
Executing tests
The create-react-app package sets up a quality testing environment using Jest automatically for us. We can execute our tests by using the yarn test or npm test script.
In the terminal, let's execute our tests:
yarn test
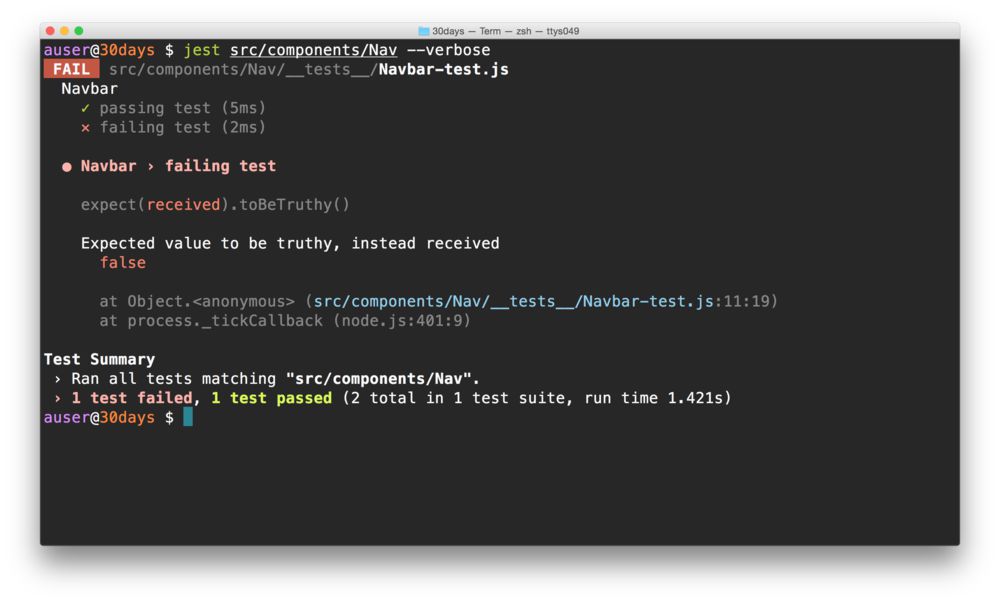
From this output, we can see the two tests with one passing test (with a green checkmark) and one failing test (with the red x and a description of the failure).
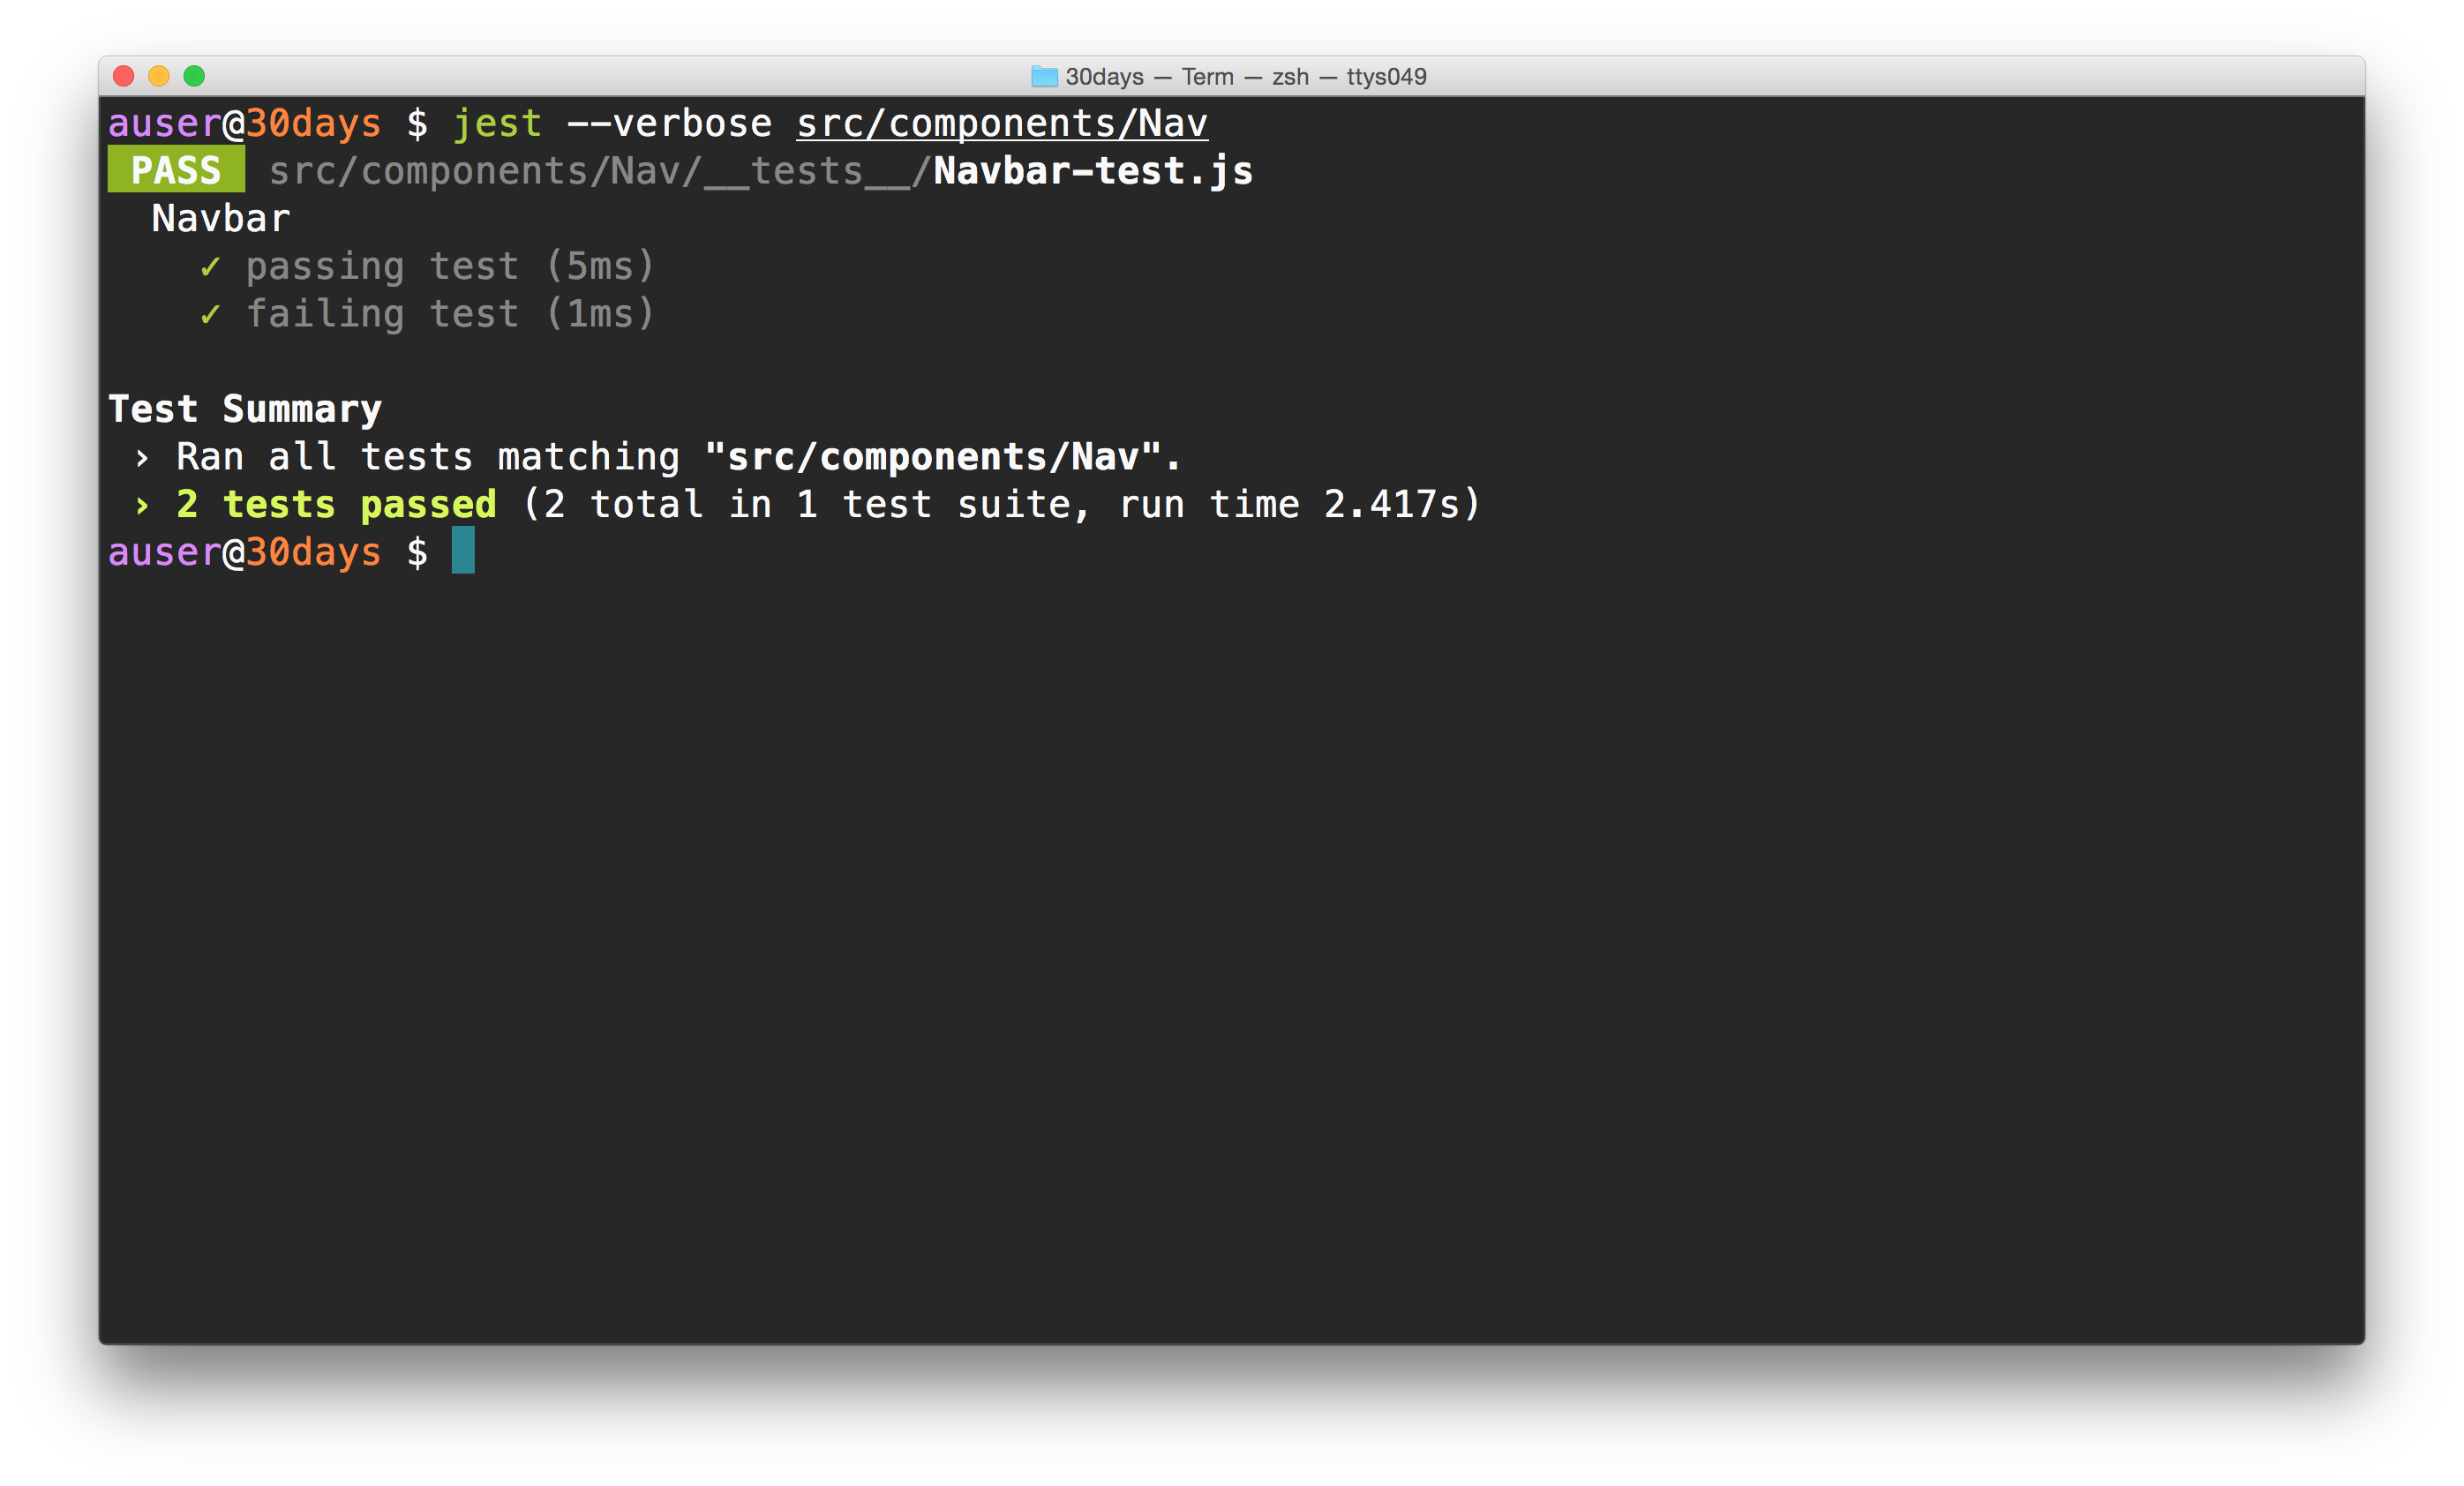
Let's update the second test to make it pass by changing the expectation to toBeFalsy():
describe("Timeline", () => {
  it("passing test", () => {
    expect(true).toBeTruthy();
  });

  it("failing test", () => {
    expect(false).toBeFalsy();
  });
});
Re-running the test, we can see we have two passing tests
yarn test
Expectations
Jest provides a few global commands in our tests by default (i.e. things you don't need to require). One of those is the expect() command. The expect() command has a few expectations which we can call on it, including the two we've used already:
toBeTruthy()toBeFalsy()toBe()toEqual()toBeDefined()toBeCalled()- etc.
The entire suite of expectations is available on the jest documentation page at: https://facebook.github.io/jest/docs/api.html#writing-assertions-with-expect.
The expect() function takes a single argument: the value or function that returns a value to be tested. For instance, our two tests we've already writen pass the boolean values of true and false.
Now that we've written our first tests and confirmed our setup, we'll actually get down to testing our Timeline component tomorrow. Great job today and see you tomorrow!
Learn React the right way
The up-to-date, in-depth, complete guide to React and friends.
Download the first chapter